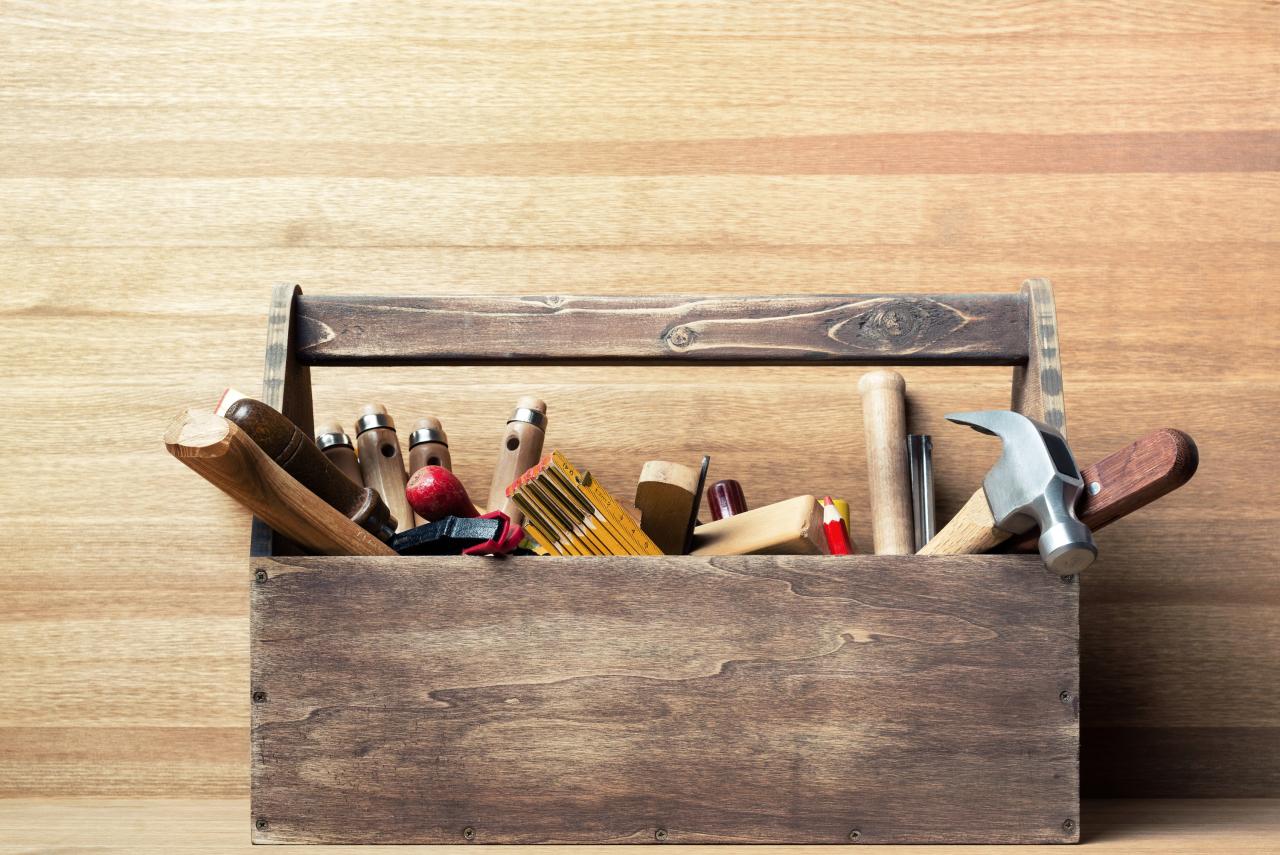
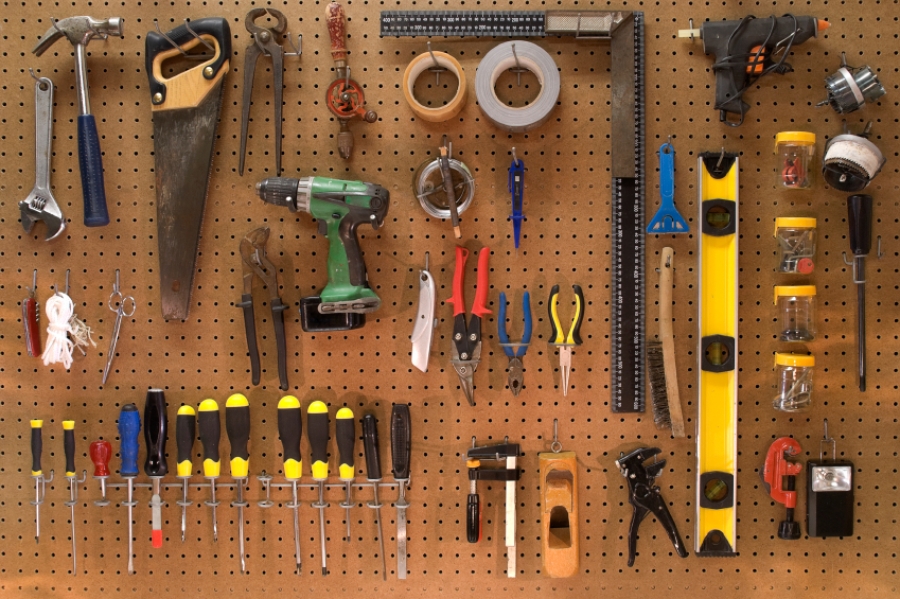
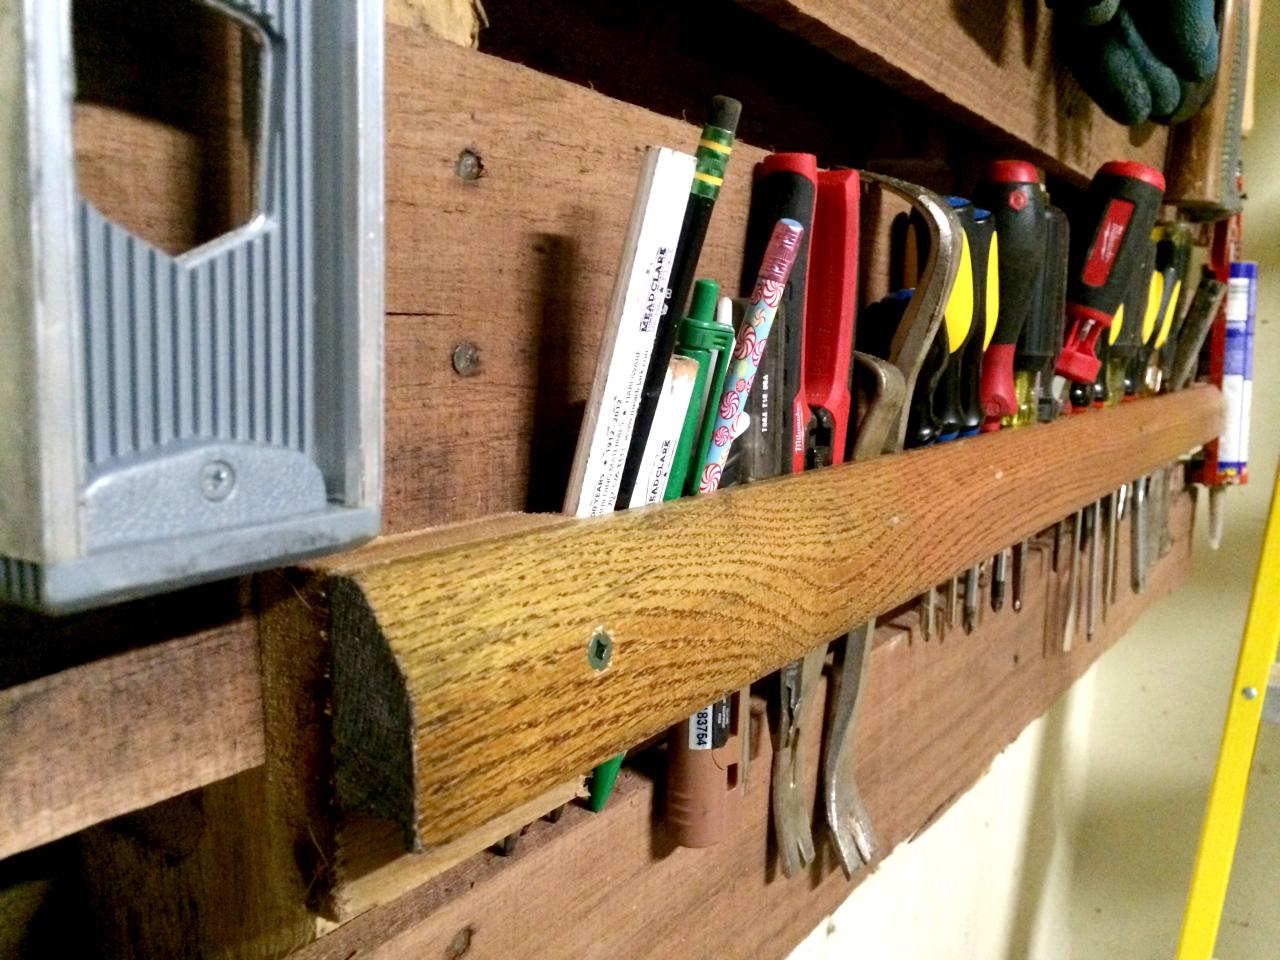
DIY tools, the indispensable companions of every aspiring builder and creator, have become a staple in modern society. From the simple hand tools used by our ancestors to the sophisticated power tools of today, these instruments have empowered individuals to bring their visions to life.
Table of Contents
The world of DIY tools is vast and diverse, encompassing a wide array of categories, each tailored to specific tasks. From the essential hand tools like hammers, screwdrivers, and wrenches to the powerful electric drills, saws, and sanders, these tools have become an integral part of countless projects, from home repairs and renovations to intricate woodworking and artistic creations.
Safety Precautions for DIY Tools
DIY projects can be incredibly rewarding, but it’s essential to prioritize safety to avoid injuries and ensure a successful outcome. Understanding the risks associated with various tools and implementing appropriate safety measures is crucial.
Essential Safety Gear for DIY Projects
Having the right safety gear can significantly reduce the risk of injury. Here’s a list of essential items to consider:
- Safety Glasses: Protect your eyes from flying debris, dust, and chemicals.
- Hearing Protection: Reduce noise exposure, especially when using power tools.
- Gloves: Protect your hands from cuts, abrasions, and chemicals. Choose gloves suitable for the specific task.
- Work Boots: Provide support and protection for your feet, especially when working on uneven surfaces.
- Dust Mask: Protect your respiratory system from dust and fumes, especially when working with wood, paint, or other materials.
- Respirator: For more hazardous tasks involving chemicals or dust, a respirator offers greater protection.
Common Safety Hazards and Mitigation Strategies
Understanding common hazards and implementing mitigation strategies is vital for safe DIY projects. Here’s a breakdown of some common hazards and how to address them:
- Power Tool Hazards: Power tools pose various risks, including kickback, entanglement, and electrical shock. Always use tools with safety guards in place, disconnect power before adjusting or cleaning tools, and use insulated tools when working with electricity.
- Hand Tool Hazards: While hand tools seem less dangerous, they can cause cuts, punctures, and strains. Always use tools in good condition, avoid using damaged tools, and use proper techniques to prevent injury.
- Material Handling Hazards: Lifting heavy objects or handling sharp materials can lead to strains, cuts, and falls. Use proper lifting techniques, wear gloves when handling sharp materials, and seek assistance for heavy objects.
- Fire Hazards: Many DIY projects involve flammable materials or tools that can generate heat. Keep a fire extinguisher readily available, use tools with proper ventilation, and be mindful of surroundings when working with flammable materials.
- Chemical Hazards: Working with paints, solvents, and other chemicals requires caution. Read and follow safety instructions on product labels, wear appropriate protective gear, and ensure adequate ventilation.
Safety Precautions for Specific DIY Tools
Each tool has unique safety considerations. Here’s a guide to specific safety precautions for common DIY tools:
- Power Drills: Use safety glasses, wear gloves, and avoid using drills with damaged cords or plugs. Ensure the drill bit is sharp and appropriate for the material. Always keep fingers clear of the drill bit when operating.
- Saws: Use safety glasses and hearing protection. Keep fingers clear of the blade, use a sawhorse for stability, and never force the saw through material. Regularly check for blade sharpness and replace when necessary.
- Sanders: Wear safety glasses and a dust mask, and use a sander with a dust collection system. Ensure the sanding surface is stable, and keep fingers clear of the sanding disc.
- Hammers: Wear safety glasses and gloves. Use a hammer with a smooth head and avoid striking metal on metal. Always check for loose or damaged hammer heads before use.
- Screwdrivers: Wear safety glasses and gloves. Use the correct size screwdriver for the screw and avoid using screwdrivers with damaged handles. Always apply pressure to the handle, not the tip of the screwdriver.
Basic DIY Techniques
Basic DIY techniques are the foundation of any successful project. They allow you to handle materials, create precise cuts, and assemble pieces with confidence. Mastering these techniques will empower you to tackle a wide range of DIY projects, from simple repairs to intricate creations.
Measuring
Measuring is a crucial step in any DIY project, ensuring accuracy and preventing costly mistakes. It is essential to use the right tools for the task at hand, such as a measuring tape, ruler, or level.
Here are some tips for accurate measuring:
- Always double-check your measurements before making any cuts or assembling parts.
- Use a pencil or marker to mark your measurements directly on the material, ensuring clear visibility.
- When measuring for a project, consider the thickness of the materials you are using and factor it into your calculations.
- Use a level to ensure that your measurements are accurate and that your project is straight and level.
Cutting
Cutting is a common DIY technique that requires precision and safety. Different materials require specific cutting tools, such as a saw for wood, a utility knife for fabric, or shears for metal.
- Always wear safety glasses and gloves when cutting materials.
- Use a cutting mat to protect your work surface and prevent damage.
- Make sure your cutting tool is sharp and in good condition.
- Cut slowly and carefully, ensuring a clean and precise cut.
- If you are cutting wood, make sure to use a saw that is appropriate for the type of wood you are cutting.
Drilling
Drilling is a technique used to create holes in various materials, including wood, metal, and plastic. It is a versatile technique used for a variety of DIY projects, from assembling furniture to hanging pictures.
- Always use a drill bit that is appropriate for the material you are drilling.
- Use a drill press for more precise drilling.
- Start with a small drill bit and gradually increase the size of the bit if needed.
- Use a drill guide to ensure that your holes are straight and in the right location.
- Always wear safety glasses and gloves when drilling.
Assembling
Assembling is the process of putting together different parts of a project. It involves joining materials using various methods, such as screws, nails, glue, or clamps.
- Use a screwdriver or drill to drive screws into the materials.
- Use a hammer to drive nails into the materials.
- Apply glue to the surfaces you are joining.
- Use clamps to hold the materials together while the glue dries.
- Make sure that all the parts are aligned correctly before assembling them.
Simple DIY Project: Building a Birdhouse
Here is a step-by-step guide for building a simple birdhouse, demonstrating the use of basic DIY techniques:
Materials:
* Wood (1/2-inch thick)
* Screws
* Glue
* Paint (optional)
* Drill
* Saw
* Screwdriver
* Measuring tape
* Pencil
* Level
Steps:
1. Measure and Cut: Use a measuring tape and pencil to mark the dimensions of the birdhouse on the wood. Cut the wood using a saw, ensuring accurate and straight cuts.
2. Drill Pilot Holes: Drill pilot holes for the screws using a drill bit slightly smaller than the screw diameter. This will prevent the wood from splitting when driving in the screws.
3. Assemble the Birdhouse: Use screws and glue to assemble the birdhouse, ensuring that all parts are aligned correctly.
4. Add Finishing Touches: Paint the birdhouse with your desired color, add a roof, and attach a perch for the birds.
5. Hang the Birdhouse: Find a suitable location for the birdhouse, ensuring it is protected from the elements. Hang the birdhouse using a sturdy wire or hook.
Tips for Professional-Looking Results:
* Use high-quality materials: Invest in quality wood and other materials for a durable and long-lasting birdhouse.
* Sand the wood: Sand the wood surfaces smooth before painting to create a professional finish.
* Use a level: Ensure that the birdhouse is level before attaching it to the hanging point.
* Add details: Enhance the birdhouse with details such as a decorative roof, a small door, or a bird feeder.
DIY Tool Maintenance and Care

Taking care of your DIY tools is essential for ensuring their longevity, performance, and your safety. Regular maintenance and cleaning will keep your tools in top condition, allowing them to perform their tasks efficiently and safely. Neglecting maintenance can lead to tool damage, decreased performance, and potential accidents.
Tool Cleaning
Keeping your tools clean is crucial for maintaining their functionality and preventing rust and corrosion. Here’s a checklist for cleaning various DIY tools:
- Hand Tools: Wipe down tools with a damp cloth after each use. For stubborn grime, use a brush and soapy water. Rinse thoroughly and dry completely to prevent rust.
- Power Tools: Unplug the tool before cleaning. Use a damp cloth to wipe down the exterior, avoiding the motor and electrical components. For deeper cleaning, consult the tool’s manual for specific instructions.
- Cutting Tools: Clean blades and cutting edges with a wire brush or honing steel. Remove any debris or rust with a fine-grit sandpaper.
- Measuring Tools: Wipe down measuring tools with a damp cloth and dry thoroughly. Avoid using abrasive cleaners or solvents that could damage the markings.
Tool Storage
Proper storage is crucial for protecting your tools from damage and ensuring they are readily available when needed. Here’s a checklist for storing your DIY tools:
- Organize tools by type: This makes it easier to find the tool you need quickly.
- Use toolboxes or storage systems: These provide a designated space for each tool and protect them from dust and damage.
- Store tools in a dry, cool environment: This helps prevent rust and corrosion.
- Keep tools sharp and lubricated: This ensures they perform optimally and last longer.
Tool Maintenance
Regular maintenance is crucial for keeping your tools in good working order. Here’s a checklist for maintaining various DIY tools:
- Hand Tools: Regularly check for loose handles, worn-out blades, and damaged surfaces. Replace or repair any damaged parts.
- Power Tools: Check for worn-out brushes, loose wires, and damaged cords. Replace or repair any damaged parts.
- Cutting Tools: Sharpen blades regularly to maintain their cutting efficiency. Use a honing steel or sharpening stone for this purpose.
- Measuring Tools: Regularly check for accuracy and calibration. Recalibrate tools if necessary.
Troubleshooting Common Tool Issues
Here are some common tool issues and their possible solutions:
- Tool not turning on: Check the power source, fuses, and circuit breakers. Ensure the tool is plugged in properly.
- Tool not working properly: Check for worn-out brushes, loose wires, or damaged cords. Replace or repair any damaged parts.
- Tool making strange noises: This could indicate a loose component, worn-out bearings, or a damaged motor. Inspect the tool and repair or replace any damaged parts.
- Tool not cutting properly: Sharpen or replace the blades. Ensure the blade is properly aligned and secured.
DIY Tools for Specific Projects

DIY projects can range from simple repairs to complex renovations, and having the right tools can make a world of difference in the quality and efficiency of your work. Understanding the specific tools needed for different projects is crucial for success. This section will explore the essential tools for common DIY projects, including woodworking, home repairs, and gardening.
Woodworking Tools
Woodworking projects require a diverse set of tools to cut, shape, and assemble wood.
- Hand Tools: These are essential for basic tasks and often used in conjunction with power tools.
- Saw: Used for cutting wood to size. Different types of saws are available, including hand saws, circular saws, and table saws.
- Hammer: Used for driving nails and securing wood pieces.
- Screwdriver: Used for driving and removing screws.
- Chisel: Used for carving and shaping wood.
- Plane: Used for smoothing and flattening wood surfaces.
- Measuring Tape: Used for measuring wood pieces and ensuring accuracy.
- Power Tools: Power tools offer greater speed and efficiency for woodworking tasks.
- Drill: Used for drilling holes in wood for screws or other fasteners.
- Router: Used for creating precise cuts and shapes in wood.
- Sander: Used for smoothing and finishing wood surfaces.
- Table Saw: Used for making precise cuts in wood.
- Miter Saw: Used for making angled cuts in wood.
Home Repair Tools
Home repairs often involve fixing broken appliances, patching walls, and performing other maintenance tasks.
- Basic Hand Tools:
- Screwdriver: Used for removing and installing screws in various appliances and fixtures.
- Pliers: Used for gripping and manipulating objects, such as nuts and bolts.
- Wrench: Used for tightening and loosening nuts and bolts.
- Hammer: Used for driving nails and securing objects.
- Level: Used for ensuring surfaces are level and straight.
- Tape Measure: Used for measuring distances and ensuring accuracy.
- Specialized Tools:
- Stud Finder: Used for locating studs in walls for hanging pictures or shelves.
- Voltage Tester: Used for checking the voltage of electrical outlets and appliances.
- Drain Snake: Used for clearing clogged drains.
- Caulk Gun: Used for applying caulk to seal gaps and cracks.
- Utility Knife: Used for cutting various materials, such as tape, cardboard, and plastic.
Gardening Tools
Gardening requires tools for planting, weeding, pruning, and maintaining your garden.
- Hand Tools:
- Hand Trowel: Used for planting seeds and transplanting seedlings.
- Hand Rake: Used for gathering leaves and debris.
- Garden Hoe: Used for weeding and loosening soil.
- Pruning Shears: Used for trimming branches and shaping plants.
- Garden Gloves: Used for protecting your hands from dirt and thorns.
- Power Tools:
- Lawn Mower: Used for cutting grass.
- Hedge Trimmer: Used for trimming hedges and shrubs.
- Chainsaw: Used for cutting down trees and large branches.
- Leaf Blower: Used for clearing leaves and debris.
- String Trimmer: Used for trimming grass and weeds around obstacles.
Table of Specialized DIY Tools and Applications
| Tool | Application |
|---|---|
| Stud Finder | Locating studs in walls for hanging pictures, shelves, or other objects. |
| Voltage Tester | Checking the voltage of electrical outlets and appliances to ensure safety. |
| Drain Snake | Clearing clogged drains by removing obstructions. |
| Caulk Gun | Applying caulk to seal gaps and cracks in walls, windows, and other surfaces. |
| Utility Knife | Cutting various materials, such as tape, cardboard, plastic, and fabric. |
| Hand Trowel | Planting seeds and transplanting seedlings. |
| Hand Rake | Gathering leaves and debris from lawns and gardens. |
| Garden Hoe | Weeding and loosening soil for planting. |
| Pruning Shears | Trimming branches and shaping plants. |
| Lawn Mower | Cutting grass in lawns and gardens. |
| Hedge Trimmer | Trimming hedges and shrubs to maintain their shape. |
| Chainsaw | Cutting down trees and large branches. |
| Leaf Blower | Clearing leaves and debris from lawns and gardens. |
| String Trimmer | Trimming grass and weeds around obstacles. |
Closing Notes: Diy Tools

Embarking on the journey of DIY can be both exciting and empowering. With the right tools and a little know-how, you can transform your ideas into tangible realities. Whether you’re a seasoned DIY enthusiast or a curious beginner, the world of DIY tools offers endless possibilities for exploration and creativity.
DIY tools can be a great way to save money and learn new skills, but managing your network infrastructure can be a challenge. For a more efficient approach, consider using a network RMM solution. This can help you automate tasks, monitor performance, and resolve issues quickly, freeing up your time for more creative DIY projects.


