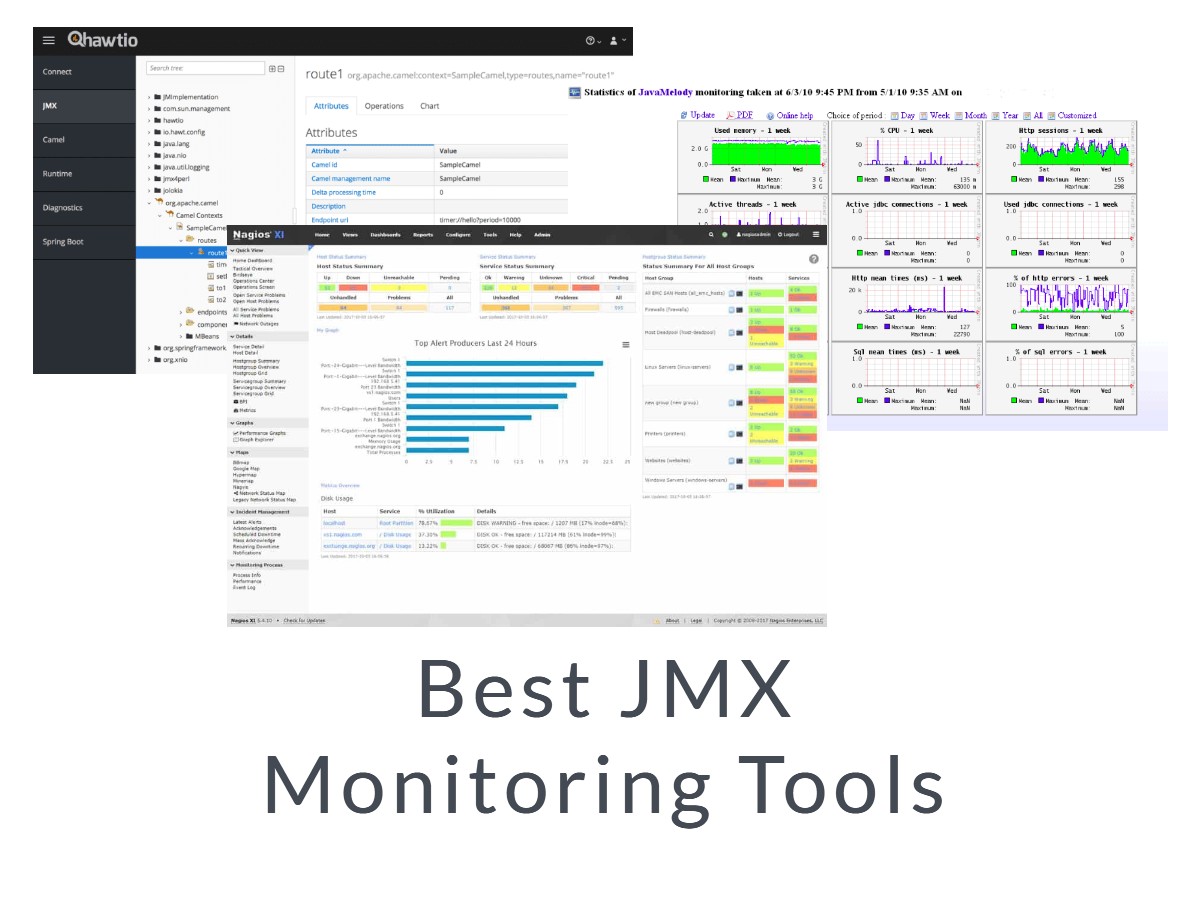
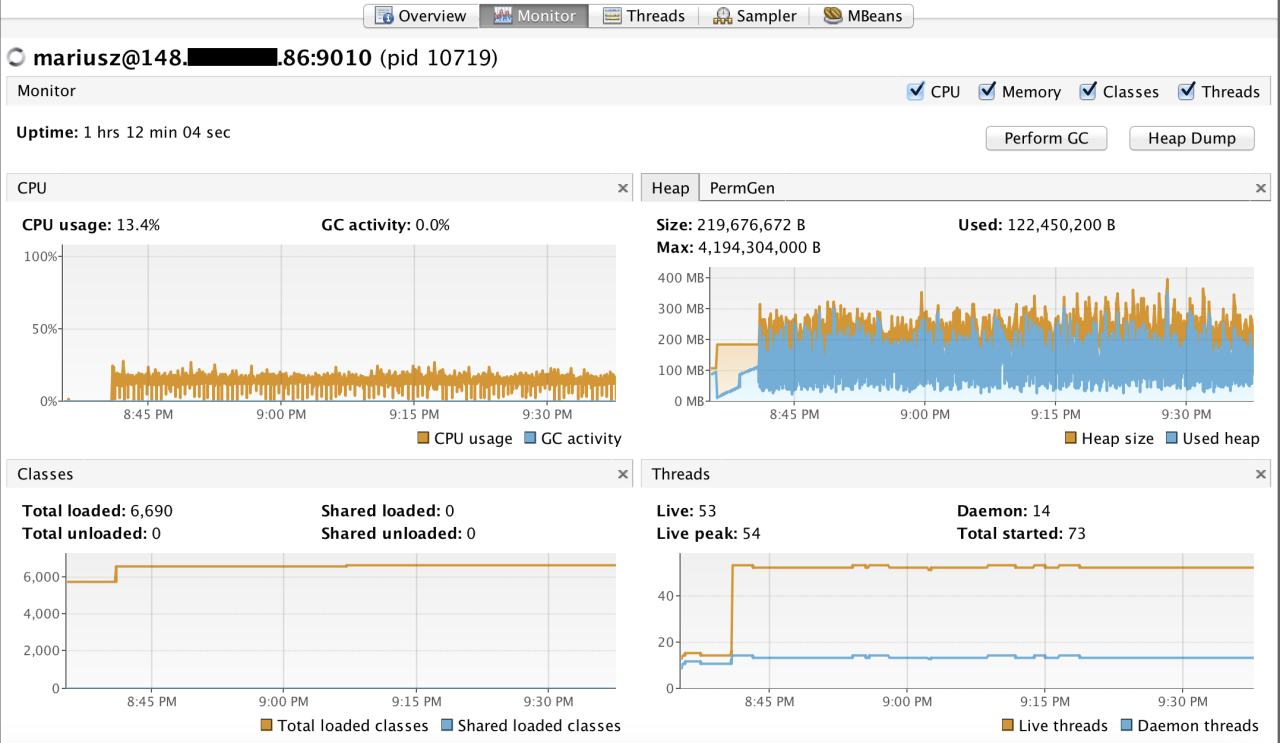
JMX remote monitoring empowers you to gain deep insights into the inner workings of your Java applications. It provides a powerful mechanism to remotely monitor and manage critical metrics like CPU usage, memory consumption, and thread activity, enabling proactive performance optimization and troubleshooting.
Table of Contents
Through JMX, you can expose these metrics as MBeans (Managed Beans), which act as interfaces for accessing and manipulating data. These MBeans can be accessed remotely using tools like JConsole or VisualVM, allowing you to monitor and manage your applications from a centralized location. The ability to monitor and manage Java applications remotely opens up a world of possibilities for developers and system administrators.
Setting Up JMX Remote Monitoring

JMX remote monitoring allows you to monitor and manage Java applications from a remote machine. This is essential for troubleshooting, performance analysis, and managing applications in production environments. Setting up JMX remote monitoring involves configuring your Java application to expose JMX data and then connecting to it using a JMX client.
Enabling JMX
To enable JMX remote monitoring, you need to configure your Java application to expose JMX data. This involves specifying the JMX agent’s port and other parameters. Here are the steps:
- Add the JMX Agent to your Java Application: Include the JMX agent in your application’s classpath. The JMX agent is a library that provides the necessary functionality for JMX remote monitoring.
- Specify JMX Agent Properties: Define JMX agent properties in your application’s configuration file or as command-line arguments. This includes specifying the JMX port, the RMI registry port, and other configuration options.
- Enable JMX Remote Access: Configure the JMX agent to allow remote access by setting the `com.sun.management.jmxremote` property to `true`.
Configuring Security Settings
Security is a crucial aspect of JMX remote monitoring. You should configure security settings to protect your application from unauthorized access. Here are the key steps:
- Authentication: Implement authentication to restrict access to authorized users. This can be done using mechanisms like password-based authentication or using a security manager.
- Authorization: Define access control policies to grant specific permissions to authorized users. You can use JMX roles and permissions to control access to specific MBeans and operations.
- SSL/TLS Encryption: Encrypt communication between the JMX client and the JMX agent using SSL/TLS to ensure secure data transmission.
Creating JMX Remote Connections
Once you have enabled JMX remote monitoring and configured security settings, you can connect to your application using a JMX client like JConsole or VisualVM.
- JConsole: JConsole is a built-in JMX client provided with the JDK. You can connect to your application by specifying the hostname, port, and authentication credentials.
- VisualVM: VisualVM is another powerful JMX client that offers advanced features like profiling, heap analysis, and thread dumps. You can connect to your application similarly to JConsole.
JMX Remote Communication Protocols
JMX remote communication can be established using different protocols. The most common protocols are:
- RMI (Remote Method Invocation): RMI is the default protocol for JMX remote communication. It uses Java serialization for data exchange and relies on the RMI registry for service discovery.
- JMXMP (JMX Messaging Protocol): JMXMP is a more lightweight and flexible protocol than RMI. It uses a message-based communication mechanism and can be used over various transport protocols like TCP, UDP, and multicast.
- Other Protocols: Other protocols like HTTP and JMS can also be used for JMX remote communication, providing greater flexibility and integration with existing infrastructure.
Best Practices for JMX Remote Monitoring

JMX remote monitoring offers a powerful way to gain insights into your Java applications, but it’s essential to implement it securely and efficiently. This section explores best practices for maximizing the benefits of JMX remote monitoring while minimizing potential risks and performance overhead.
Security Considerations and Best Practices
JMX remote connections expose sensitive data about your application and can be exploited by malicious actors. Here are crucial security considerations and best practices to protect your JMX infrastructure:
- Use Authentication and Authorization: Implement robust authentication mechanisms like SSL/TLS and user authentication to restrict access to authorized users. This prevents unauthorized access and ensures only authorized users can interact with your JMX agents.
- Limit Network Exposure: Configure JMX to listen on specific IP addresses and ports, limiting its exposure to the network. This helps prevent unauthorized connections from outside your trusted network.
- Secure Credentials: Store JMX authentication credentials securely, avoiding plain text storage. Use dedicated credential management systems or secure configuration files.
- Regular Security Audits: Conduct regular security audits to identify and address vulnerabilities in your JMX setup. This includes checking for outdated JMX versions, weak passwords, and misconfigured access control.
- Principle of Least Privilege: Grant only the necessary permissions to JMX users. This limits their access to specific resources and reduces the potential impact of a security breach.
Monitoring Resource Consumption and Impact
JMX itself consumes resources, so it’s crucial to monitor its impact on your application’s performance.
- Monitor JMX Agent Performance: Track metrics like CPU usage, memory consumption, and network traffic related to the JMX agent. This helps identify any performance bottlenecks caused by the JMX agent itself.
- Optimize JMX Configuration: Adjust JMX configuration parameters like the number of MBeans registered, the frequency of data collection, and the size of data buffers to minimize resource consumption.
- Limit Excessive Monitoring: Avoid collecting excessive data or monitoring metrics that are not essential. This reduces the overall load on your application and improves performance.
Optimizing JMX Performance, Jmx remote monitoring
By optimizing JMX configuration and usage, you can minimize its overhead and improve its performance.
- Use Efficient Data Collection Strategies: Implement efficient data collection strategies, such as collecting data only when necessary and aggregating data to reduce the volume of data transmitted.
- Avoid Excessive Attribute Access: Access MBean attributes only when needed, as excessive attribute access can impact performance. Cache frequently accessed data to minimize attribute access.
- Optimize Network Communication: Configure JMX to use efficient network protocols and minimize the frequency of data transmission to reduce network overhead.
Final Thoughts

JMX remote monitoring is a vital tool for any Java developer or system administrator seeking to gain a comprehensive understanding of their applications’ performance and behavior. By utilizing JMX, you can effectively monitor, manage, and troubleshoot your applications, ensuring optimal performance and stability. The ability to collect and analyze real-time data empowers you to identify potential bottlenecks, resolve issues promptly, and make informed decisions about your applications’ future development.
JMX remote monitoring allows you to keep a watchful eye on your applications’ performance, but it can be difficult to visualize complex data. Sometimes, a more intuitive approach is needed, like the one offered by sketchup web , a web-based platform that allows you to create 3D models.
While sketchup web is primarily used for design, it could potentially be used to create visual representations of JMX data, making it easier to understand and troubleshoot performance issues.


